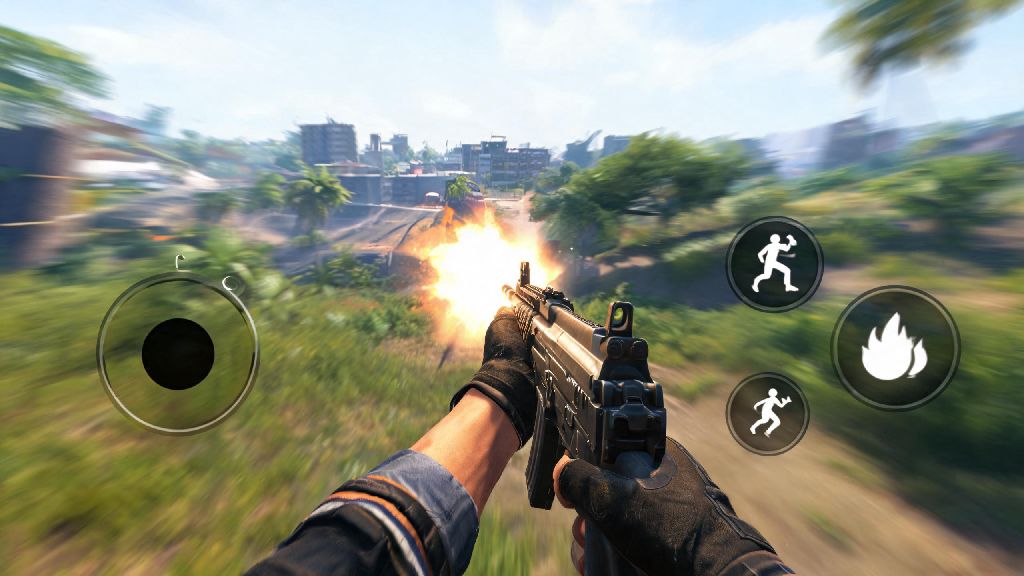
If you’ve ever lost a 1v1 close-range fight in Free Fire because your opponent bounced around like a rubber ball while landing every shot, you know how annoying it is to go against someone who’s mastered jump shooting. This move isn’t just for pro players grinding top-tier ranked lobbies either – it’s accessible for anyone who’s willing to put 10 to 15 minutes of practice into getting the timing right. Today, we’re breaking down exactly how to jump and shoot in Free Fire, from your control setup to the small habit changes that will make this move feel second nature in no time.
How to Adjust Your Control Setup for Jump and Shoot in Free Fire
Before you even start practicing the move itself, you need to make sure your control layout is set up to support jump shooting, instead of working against you. Most default Free Fire control layouts place the jump button far away from the fire button, which makes it almost impossible to press both at the right time with two thumbs. Set your jump and fire buttons to a minimum 1.5cm x 1.5cm size so you don’t miss the press mid-fight, and turn off button transparency completely so you can see exactly where you’re tapping. If you play with two thumbs, place the jump button on the opposite edge of your screen from your primary fire button, right where your non-dominant thumb rests when you’re moving. If you’re open to trying 3-finger claw, place the jump button on the top left or top right of your screen, so you can press it with your index finger while keeping your thumbs on movement and aim. So many players skip this step and wonder why they can’t get the timing right, but a small layout tweak can cut your practice time in half.
Step-by-Step Execution of Perfect Jump Shooting
Once your layout is set, it’s time to learn the actual movement and shooting flow that makes jump shooting so effective. First, remember this rule: Jump shooting only works for fights under 25 meters – don’t waste it on long-range engagements. Your weapon accuracy drops drastically when you’re in the air, so this move is strictly for close-quarters fights where you’re already within shotgun or SMG range. The steps are simple once you get the timing down: First, strafe left or right as you spot the opponent to throw their initial aim off, and line your crosshair up with their upper chest or head area before you jump. Press the jump button right as your crosshair locks on, then fire your first shot 0.2 seconds after you leave the ground, right before you hit the peak of your jump. Keep holding fire until you land, and if you haven’t knocked the opponent yet, either jump again in the opposite direction or duck behind cover to reset. You don’t need to use a scope for this move – hip fire is far more accurate for mid-air shots, and it lets you react faster to sudden movement from your opponent.
Common Jump Shooting Mistakes to Avoid At All Costs
Even if you follow the steps perfectly, it’s easy to pick up bad habits that make your jump shooting far less effective than it should be. These are the most common mistakes I see new players make all the time:
I’ve talked to dozens of new players who wrote jump shooting off as a useless pro trick, and 90% of the time they were making at least two of these mistakes every time they tried the move. Spend 10 minutes in training mode focusing on fixing one mistake at a time, and you’ll see a huge difference in your success rate almost immediately.
Pro Drills to Practice Jump Shooting For Fast Results
You don’t have to grind 100 ranked matches to get good at jump shooting – a few simple daily drills will build muscle memory way faster. First, start in Free Fire’s training mode: spawn 10 stationary bots at 20 meters, and practice jump shooting each one with an MP40 until you can knock 8 out of 10 in under 3 seconds each. Once you’ve mastered stationary bots, switch to moving bots set to walk or run, and practice tracking their movement while you jump and shoot, aiming for 7 out of 10 kills. Spend at least 10 minutes a day practicing these drills for one week, and the move will feel completely automatic by the end of the week. Once you’re comfortable in training mode, start testing the move in unranked matches first, so you don’t stress about losing rank points while you’re still getting the hang of it. Once you can land 4 out of 5 jump shots in unranked lobbies, you’re ready to bring it to ranked play. For an extra challenge, try pairing jump shooting with a quick crouch as soon as you land – it makes you even harder to hit, and most opponents won’t be able to adjust their aim fast enough to catch you.
Jump shooting is one of the most underrated close-range combat skills in Free Fire, and it can turn you from a player who always loses 1v1s into the opponent everyone hates going up against. You don’t need fancy gear or a top-tier device to pull it off either – all it takes is a little control adjustment and consistent practice. Now that you know how to jump and shoot in Free Fire, hop into training mode today to test out the tips we covered, and you’ll be landing clean jump shot kills in your next ranked match before you know it.